Painting Interior Walls: Surface Prep Is the Work That Actually Matters

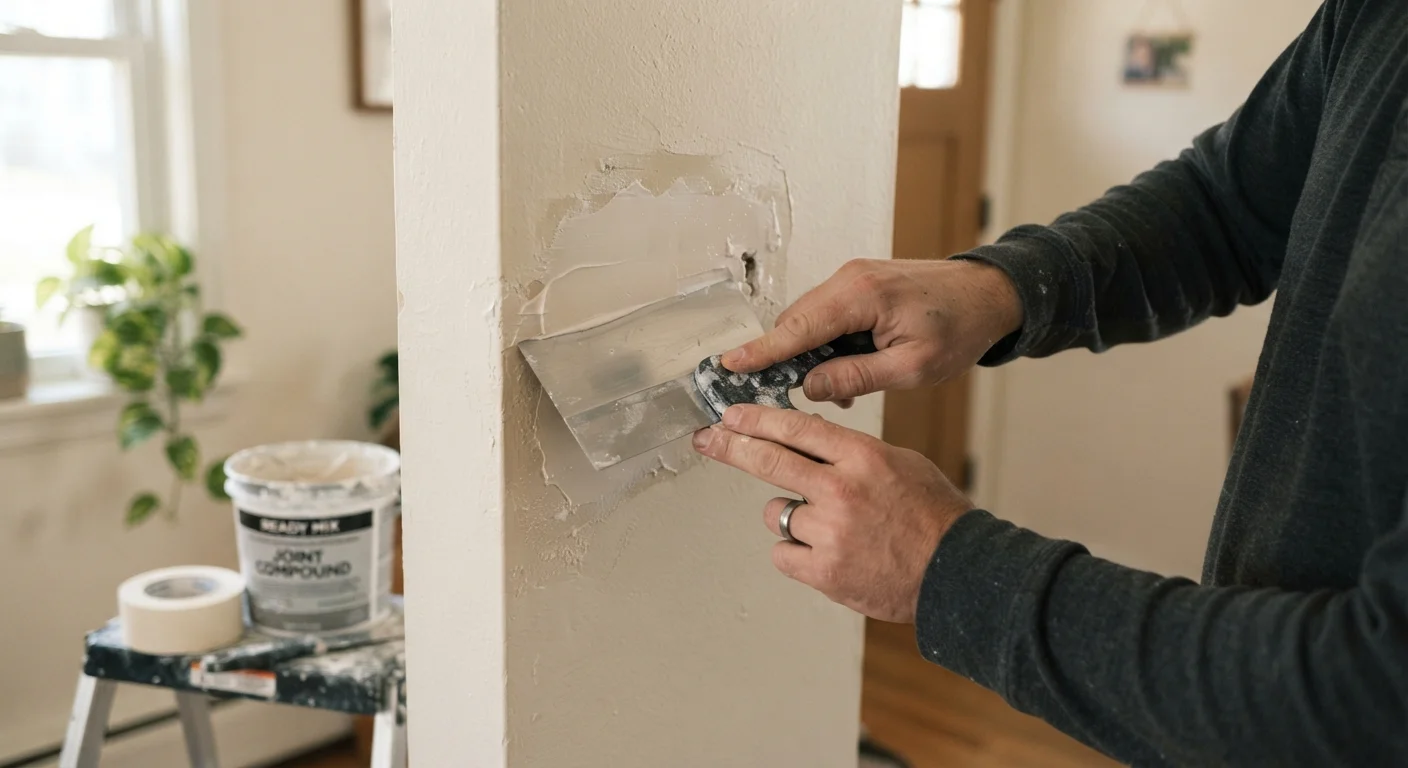
Photo: TrendingResults.net | Discover More, Trend More editorial
Key Takeaways
- Surface preparation - not the paint itself - determines whether a paint job lasts for years or fails within months.
- Every crack, hole, and stain must be addressed before applying any paint or primer.
- Skipping primer is one of the most common and costly mistakes DIY painters make.
- Proper sanding between repair stages is essential for a smooth, professional-looking finish.
- Cleaning walls of grease, dust, and residue is a non-negotiable first step that many homeowners overlook.
Why Prep Work Determines the Final Result
Most homeowners spend the majority of their mental energy choosing a paint color and far too little time on what actually determines how a finished room looks and how long the paint holds up. Surface preparation accounts for the majority of a professional painter's time on any job - and for good reason.
Paint is a thin film. It does not hide imperfections; it highlights them. Every crack, bump, stain, and patch that isn't properly addressed before the first coat goes on will show through the final finish, often more visibly once the sheen draws light across the surface. Adhesion is equally dependent on prep: paint applied over dirty, oily, or improperly primed walls will peel, bubble, or wear unevenly within a year or two.
If you're approaching a bigger renovation and want to understand how a paint project fits into the larger picture, the guide to setting expectations for your first major renovation covers the planning fundamentals worth reading first. For those weighing whether to tackle a room themselves or bring in help, this room-by-room decision framework can help you assess the scope honestly.
Use Raking Light to Spot Every Flaw
Tools and Materials You'll Need
Gather everything before you begin. Starting a prep job and stopping mid-task to make a hardware store run disrupts your workflow and can leave surfaces in an unfinished state that is harder to correct later.
Putty knife or taping knife (4-6 inch)
Applying and smoothing joint compound or spackling paste over holes and cracks.
Sandpaper (120-grit and 220-grit) or sanding sponge
Smoothing patched areas and scuff-sanding walls before priming.
TSP substitute cleaner
Degreasing and cleaning walls to remove grease, smoke residue, and grime before painting.
Primer (drywall or all-purpose)
Sealing repairs, stains, and raw surfaces to create a uniform base for paint.
Painter's tape
Masking trim, outlets, and edges to keep prep work and paint application clean.
Drop cloths
Protecting floors and furniture from dust, compound, and paint drips.
Stain-blocking primer (shellac or oil-based)
Sealing water stains or smoke damage that standard primer cannot fully cover.
Pole sander
Sanding large wall areas efficiently without a ladder for most of the surface.
What you will need
Having the right materials on hand - particularly the correct type of primer for your specific wall conditions - is what separates a smooth process from a frustrating one.
Don't Skip the Primer Step
Step-by-Step Wall Preparation
Follow these steps in order. Each stage builds on the last, and skipping or shortcutting any step creates problems that compound into the final finish.
Older Homes May Contain Lead Paint
Clean the walls thoroughly
Paint does not bond well to dirty surfaces. Wash walls with a TSP (trisodium phosphate) substitute solution mixed according to the product's label directions, using a sponge or soft cloth. Pay extra attention to areas near stoves, fireplaces, and door frames where grease and hand oils accumulate. Rinse with clean water and allow the walls to dry completely - typically several hours - before moving forward.
Inspect and mark all surface defects
Use a raking light - a flashlight or work lamp held parallel to the wall - to reveal every dent, crack, nail pop, and texture inconsistency. Mark each defect lightly with a pencil. Do not rely on your eyes under normal room lighting; subtle imperfections that are easy to miss now will be magnified once paint is applied.
Repair cracks, holes, and nail pops
For small nail holes and hairline cracks, lightweight spackling compound works well - apply it with a putty knife, overfilling the depression slightly. For larger holes (roughly coin-sized or bigger), use joint compound or a drywall patch kit. Nail pops require a different approach: drive the existing nail slightly deeper with a hammer, then drive a new drywall screw an inch above and below it before covering all three points with compound. Allow repairs to dry fully according to product directions; most compounds dry white when ready.
Sand repairs smooth
Once repairs are fully dry, sand them smooth with 120-grit sandpaper, then finish with 220-grit for a near-seamless surface. Feather the edges of each repair so there is no visible ridge where compound meets wall. Wipe away all dust with a lightly damp cloth or tack cloth. For large repairs, a second coat of compound followed by another round of sanding is often necessary to achieve a truly flat surface.
Treat stains with a stain-blocking primer
Water stains, smoke damage, crayon, or grease marks that survive cleaning need to be spot-treated with a stain-blocking primer - typically a shellac-based or oil-based product - before you apply your general primer. Standard latex primer will not prevent these stains from bleeding through. Apply the stain blocker only to the affected areas and allow it to dry completely per the manufacturer's directions.
Apply primer to the entire wall surface
Prime all walls - not just repaired spots - with a quality drywall or all-purpose primer. This step unifies the surface's porosity and sheen, ensuring the topcoat goes on evenly and adheres well. Roll primer with the same nap roller you plan to use for paint, cutting in edges with a brush first. Allow primer to cure fully before painting; check the label for drying time, which typically ranges from one to four hours.
Do a final inspection before painting
Once primer is dry, use your raking light again to check the entire wall surface. The primer's uniform sheen makes it much easier to spot any remaining imperfections. Touch up any spots with a bit of compound, re-sand lightly, and spot-prime as needed. This final quality check takes only a few minutes but prevents the frustration of discovering flaws after two coats of paint are already on the wall.
Once you've completed all seven steps, your walls are ready for paint. The preparation work you've done here is the investment that makes the painting stage faster, easier, and longer-lasting. For projects that include a kitchen - where grease and moisture make prep even more critical - see our kitchen remodel homeowner's roadmap for context on how painting fits into the broader scope of work.
The content on this site is provided for informational purposes only and should not be considered a substitute for professional advice. While we strive to provide accurate and up-to-date information, we make no guarantees regarding its completeness or accuracy. Always consult a qualified professional for advice specific to your circumstances before making any decisions.