Why Bathroom Grout Fails-and What to Do About It

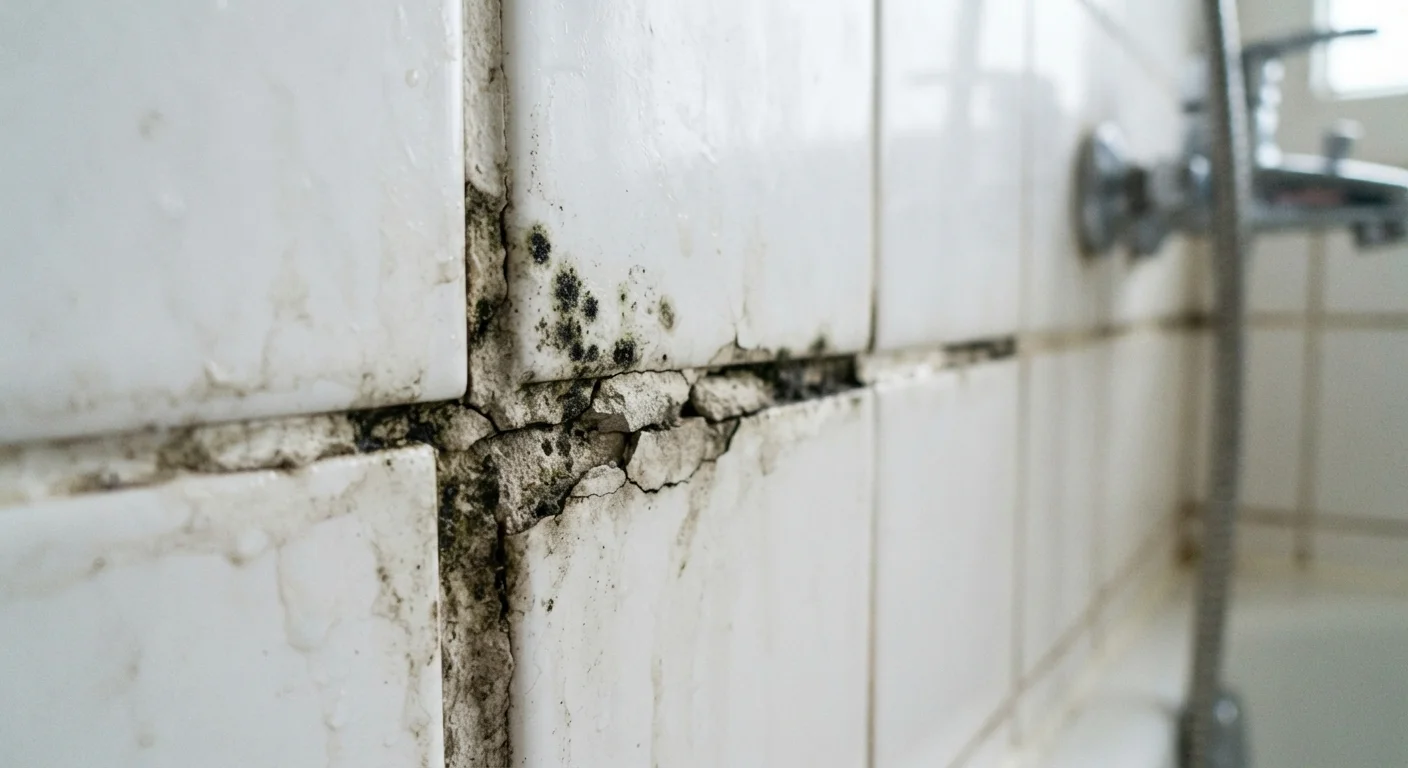
Photo: TrendingResults.net | Discover More, Trend More editorial
Key Takeaways
- Most grout failures stem from installation errors, inadequate sealing, or prolonged moisture exposure.
- Cracking, crumbling, discoloration, and mold each have distinct causes that require different remedies.
- Regrouting over damaged or dirty grout without proper preparation almost always leads to repeat failure.
- Epoxy grout and cement grout behave differently-using the wrong type for your setting is a common mistake.
- Sealing grout after installation and reapplication is essential, especially in wet bathroom environments.
Why Grout Fails in the First Place
Bathroom grout takes a beating every day-hot showers, cleaning products, foot traffic, and constant moisture all take their toll. But when grout cracks, crumbles, or turns black well before its time, the cause is usually something that happened before a single tile was ever cleaned. Understanding why grout fails is the first step toward fixing it properly and keeping it intact longer.
Grout is a porous, cementitious material (meaning it's cement-based and absorbs liquids) that bonds tiles together and seals the joints between them. When it's mixed incorrectly, applied in the wrong conditions, left unsealed, or paired with the wrong tile movement, deterioration is almost inevitable. The good news: nearly every failure mode is preventable with the right technique.
Using too much water when mixing or cleaning grout during installation.
Skipping the grout sealer after installation or regrouting.
Regrouting directly over old, damaged, or moldy grout without removing it first.
Choosing the wrong grout type for the location or tile size.
Ignoring small cracks or gaps in grout until water damage develops behind the tiles.
How to Fix Grout Problems the Right Way
Once you've identified what went wrong, the repair approach depends on the type and extent of the damage. Minor surface discoloration sometimes responds to a dedicated grout cleaner and a stiff brush. Mold that has penetrated the grout surface, however, typically won't come out through scrubbing alone-affected grout usually needs to be removed and replaced.
Removing old grout without damaging tiles requires a grout saw or oscillating multi-tool with a grout removal blade. Work carefully and remove only the compromised material to a depth of at least 2-3 millimeters before applying new grout. Always let the area dry completely-at least 24 hours in a well-ventilated space-before regrouting.
Don't Regrout Over Active Moisture Problems
After new grout has cured (curing time varies by product; check the manufacturer's guidelines), apply a penetrating grout sealer to all joints. In high-moisture zones like shower walls and tub surrounds, plan to reseal annually. This single step prevents more failures than any other precaution. If you're dealing with a plumbing-related moisture problem behind the tiles-such as a slow leak-address that before any cosmetic repair. For a broader look at how DIY assumptions can create bigger problems, see our piece on plumbing myths that cost homeowners money.
The content on this site is provided for informational purposes only and should not be considered a substitute for professional advice. While we strive to provide accurate and up-to-date information, we make no guarantees regarding its completeness or accuracy. Always consult a qualified professional for advice specific to your circumstances before making any decisions.