
Apartment Walkthrough Checklist: What to Inspect Before Move-In

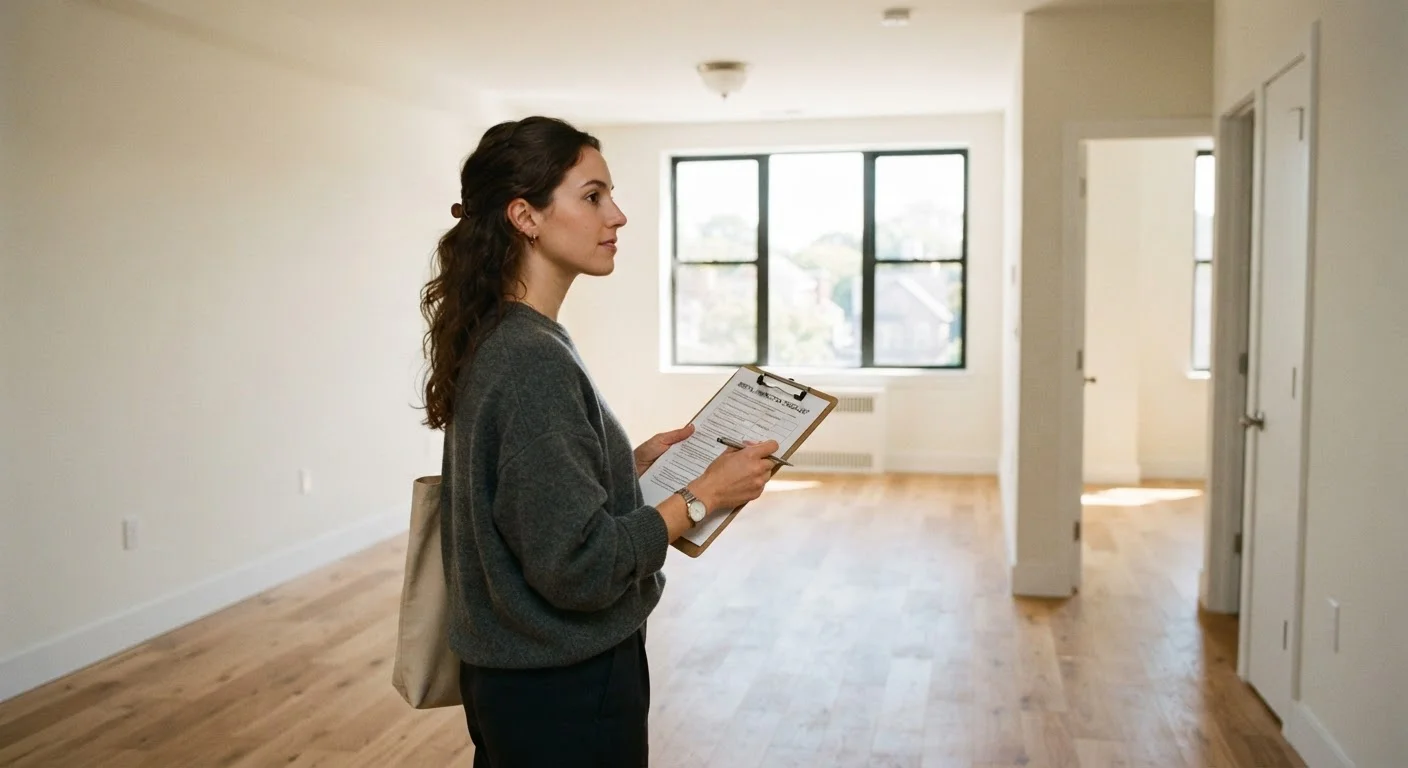
Photo: TrendingResults.net | Discover More, Trend More editorial
Key Takeaways
- Document all existing damage in writing and photos before moving a single item in.
- Request a move-in inspection form from your landlord - if none exists, create your own.
- Test every fixture, outlet, lock, and appliance during the walkthrough, not after.
- A signed, dated inspection record is your strongest defense against unfair deposit deductions.
- Notify your landlord of any issues in writing within 24-48 hours of move-in.
Why the Move-In Walkthrough Matters
Your security deposit - typically one to two months' rent - is at stake the moment you hand over keys at move-out. Without a documented record of the unit's condition on arrival, landlords can legally attribute pre-existing damage to you. A systematic walkthrough changes that equation.
Many states legally require landlords to provide a move-in inspection form or itemized statement of existing damage. Even where that requirement doesn't exist, creating your own written record is standard practice recommended by tenant-rights organizations. If you're still weighing whether to sign at all, review what first-time renters should know before signing to understand your full set of rights and obligations.
Conduct your walkthrough before you move any furniture or belongings in, ideally with the landlord or property manager present. Bring a phone or camera, a notepad, and this checklist.
Smartphone with camera
Capture timestamped photos and video of every area of the unit during the walkthrough.
Move-in inspection form
Provides a structured written record that both you and the landlord can sign and date.
Outlet tester (plug-in)
Quickly verifies whether each electrical outlet is wired correctly without needing an electrician.
Flashlight or phone torch
Helps illuminate dark cabinet interiors, corners, and under-appliance spaces during inspection.
Notepad and pen
Allows you to record observations in real time alongside photos for a complete paper trail.
Room-by-Room Inspection Checklist
Work through each area of the unit methodically. Flag every scratch, stain, crack, and malfunction - no matter how minor it seems. Courts and arbitrators give significant weight to dated photographs and signed inspection forms when deposit disputes arise.
Walls, Floors & Ceilings
Doors, Windows & Locks
Kitchen
Bathrooms
Electrical & Plumbing
Safety & Building Systems
Never Sign a Blank or Incomplete Inspection Form
Think of this process the same way you'd approach inspecting a used vehicle before purchase - thorough documentation upfront prevents costly disagreements later.
After the Walkthrough: Locking In the Record
Completing the checklist is only half the job. How you document and communicate findings determines whether that record holds up.
- Sign and date the form with your landlord. Both parties should receive a copy immediately.
- Send a follow-up email. If your landlord won't sign, email them your findings within 48 hours of move-in. The timestamp creates a paper trail.
- Upload photos to cloud storage. Store images somewhere with automatic date metadata - not just your phone's camera roll.
- Note repair timelines in writing. If the landlord promises to fix anything before or shortly after move-in, get that commitment in writing with a specific deadline.
Tenants who skip this step often find themselves disputing charges they can't disprove. Those who complete it - and keep copies - are in a far stronger legal position if a dispute reaches small claims court or a state housing authority.
This checklist is for general informational purposes only and does not constitute legal advice. Tenant rights, required disclosure forms, and deposit rules vary significantly by state and locality. Consult a licensed attorney or your local tenant-rights organization for guidance specific to your situation.
The content on this site is provided for informational purposes only and should not be considered a substitute for professional advice. While we strive to provide accurate and up-to-date information, we make no guarantees regarding its completeness or accuracy. Always consult a qualified professional for advice specific to your circumstances before making any decisions.