
Buying a Car

What to Inspect on a Used Car Before You Agree to Anything

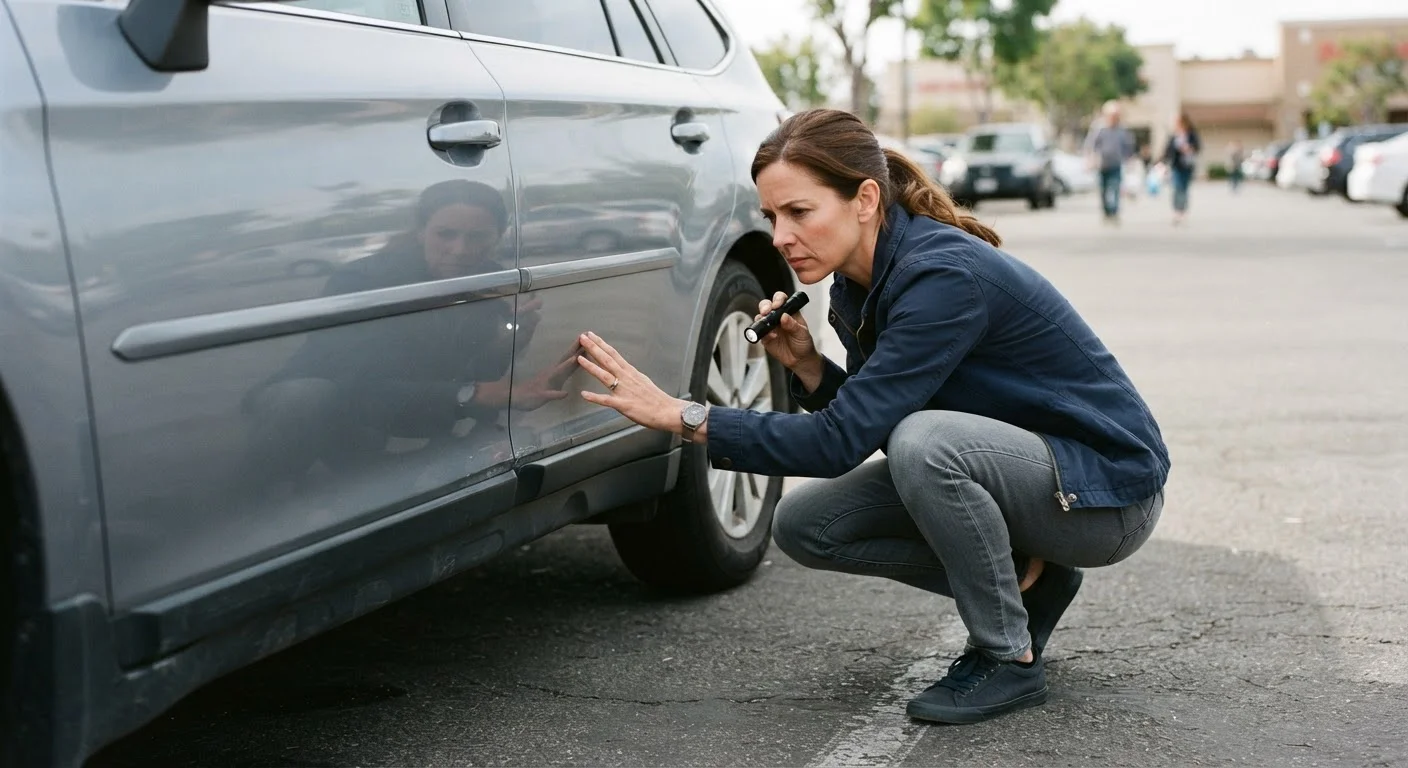
What to Inspect on a Used Car Before You Agree to Anything

Photo: TrendingResults.net | Discover More, Trend More editorial

Use this checklist to systematically assess a used vehicle's condition—inside, outside, and under the hood—before negotiations begin.

Key Takeaways

  • Inspect a used car in daylight and on a level surface for the most accurate assessment.
  • Panel gaps, rust, and mismatched paint are key exterior signals of past damage or poor repairs.
  • Fluid levels, belt condition, and warning lights reveal the car's current mechanical health.
  • Always request a vehicle history report and schedule a pre-purchase mechanic inspection before finalizing.
  • A test drive should cover city streets, highway speeds, and hard braking to expose hidden issues.

Why a Systematic Inspection Matters Before Any Negotiation

Walking onto a used-car lot or meeting a private seller without a structured inspection plan puts you at a significant disadvantage. Sellers aren't required to volunteer every flaw, and a clean interior or fresh detail job can easily mask problems that will cost you thousands after the sale. The goal of this checklist is to give you a framework for gathering facts before any money or negotiation enters the conversation.

If you're still weighing whether a used vehicle is the right path at all, our breakdown of new vs. used trade-offs covers depreciation, financing rates, and warranty differences in detail. Once you've decided used is the right fit, pair this visual inspection with a vehicle history report to cross-reference what you see with what's on record.

This checklist is designed to be completed before you negotiate or sign anything. It is not a substitute for a professional pre-purchase inspection — which we strongly recommend as a final step.

Never Inspect in a Rush or Poor Lighting

A seller who insists you make a quick decision or only offers to show the car at night should raise immediate concern. Commit to inspecting the vehicle in full daylight on a dry day — wet surfaces disguise paint imperfections, and poor lighting hides body filler and panel mismatches. If the timing doesn't work for a proper inspection, schedule another appointment rather than compromise the process.

What to Bring and How to Set Up the Inspection

Arrive prepared. Conducting the inspection in the right conditions and with the right tools will meaningfully improve what you're able to catch. Use the tool cards below as your pre-inspection kit list.

Required

Flashlight or headlamp

Illuminates dark areas under the hood, beneath the car, and inside the trunk where daylight doesn't reach.

Required

Tread depth gauge

Measures remaining tire tread precisely, helping you estimate replacement costs and detect uneven wear.

Required

Clean white rag or paper towel

Used to check oil and fluid color and consistency directly from the dipstick or reservoir.

Required

Notepad or phone camera

Documents flaws, dashboard warning lights, and any concerns for follow-up with a mechanic.

Optional

OBD-II scanner (basic code reader)

Reads stored diagnostic trouble codes from the vehicle's onboard computer, which may not yet trigger a visible warning light.

Required

Vehicle history report

Cross-references the car's reported accident history, title status, odometer records, and prior ownership against what the seller tells you.

Always inspect the car outdoors in natural daylight — artificial lighting inside a showroom can hide paint imperfections and body filler. Ask to see the car on a flat, level surface so you can assess panel alignment accurately. If the seller resists any part of your inspection or rushes you, treat that as a warning sign in itself.

Running Through the Checklist

Work through each group methodically, taking notes or photos as you go. Don't skip categories because the car looks clean — cosmetic presentation is often the first thing a motivated seller addresses.

Exterior Body and Paint

Walk the entire perimeter of the car in daylight, looking along each panel at a low angle to spot waves, ripples, or uneven texture that may indicate body filler or prior collision repair. Must
Check all panel gaps — the spaces between doors, fenders, hood, and trunk — for consistent width; uneven gaps often indicate a repaired or replaced panel. Must
Compare paint color and finish across all panels; slight color differences or an overspray pattern near trim and rubber seals suggests a repaint. Must
Inspect the lower door edges, wheel arches, rocker panels, and trunk floor for rust — surface rust can be cosmetic, but bubbling or flaking through the metal is a structural concern. Must
Check all glass — windshield, rear window, and side windows — for cracks, chips, or stress marks that may require replacement. Should

Under the Hood

With the engine cold, check the oil dipstick: oil should be amber to light brown; black sludge or a milky, frothy appearance can indicate serious engine issues. Must
Inspect the coolant reservoir — the fluid should be green, orange, or pink and translucent; a brown or oily appearance may signal a head gasket problem. Must
Look for oil or fluid stains on the engine block, hoses, and the ground beneath where the car is parked — fresh or dried leaks are a red flag. Must
Check visible belts for cracking, fraying, or glazing; inspect hoses for soft spots, bulging, or hardness that indicates age. Should
Examine the battery terminals for heavy corrosion buildup, and note the battery's age if a label is present. Nice to have

Interior and Electronics

Start the car and verify that no warning lights remain illuminated on the dashboard after the initial startup sequence completes. Must
Test every electrical function: windows, locks, mirrors, climate controls, infotainment screen, USB ports, and all interior lights. Should
Check seat upholstery, carpeting, and headliner for staining, tears, or a persistent musty or mildew odor — odors can indicate water intrusion or flooding. Should
Inspect the trunk floor and spare tire well for signs of water pooling or rust, which can indicate a leak from the rear window seal or tail lights. Should
Confirm seatbelts retract smoothly, latch securely, and that all airbag covers appear undisturbed and factory-original. Must

Tires, Wheels, and Brakes

Measure tread depth on all four tires using a tread depth gauge or the quarter test; uneven wear patterns across or around the tire can signal alignment or suspension problems. Must
Check that all four tires are the same brand, size, and type — mismatched tires suggest deferred maintenance. Should
Peer through the wheel spokes to examine the brake rotors for deep grooves or scoring, and check visible brake pad thickness where possible. Must

Test Drive

Drive on both city streets and at highway speed; listen for unusual noises (knocking, clunking, rattling) and pay attention to how the car tracks in a straight line. Must
Perform a controlled hard brake from approximately 30 mph in a safe area — the car should stop straight and the pedal should feel firm, not spongy or pulsating. Must
Test the transmission through all gears: automatics should shift smoothly without hesitation or clunking; manuals should engage each gear cleanly without grinding. Must
Turn the steering wheel through its full range at low speed and listen for clunking or grinding that may indicate worn CV joints or power-steering issues. Should
After parking, check under the car for any new fluid drips that weren't present before the drive. Should

After completing the visual and mechanical checks yourself, the single most valuable next step is a professional pre-purchase inspection. A qualified mechanic with a lift can assess the suspension, frame, exhaust, and undercarriage in ways that simply aren't possible during a parking-lot walkthrough.

Your Visual Check Is Not a Full Inspection

This checklist covers what an informed buyer can observe without specialized equipment. It is not a substitute for a pre-purchase inspection performed by a licensed mechanic. A professional inspection typically involves lifting the vehicle to examine the frame, suspension, exhaust, and undercarriage — areas invisible during a standard walkthrough. Budget for this cost before you buy; it is almost always worthwhile relative to the risk of purchasing a vehicle with concealed mechanical issues.

Once a vehicle passes your inspection and a mechanic's review, shift your focus to paperwork. Our guide on documents to review before you sign covers the key terms and forms to scrutinize at closing. And after the purchase, consult our used car maintenance starting checklist to understand exactly what the vehicle needs from day one.

Autos Editorial Team

TrendingResults.net | Discover More, Trend More

Autos Editorial Team is the collective byline for our editorial team and contributor network. Articles published under this byline or an editorial pen name are researched, written, and reviewed according to our editorial standards for clarity, consistency, and independence before publication.

Car MaintenanceBuying a CarRoad & Safety
View author profile

The content on this site is provided for informational purposes only and should not be considered a substitute for professional advice. While we strive to provide accurate and up-to-date information, we make no guarantees regarding its completeness or accuracy. Always consult a qualified professional for advice specific to your circumstances before making any decisions.