
Composting at Home: Building a System That Actually Works

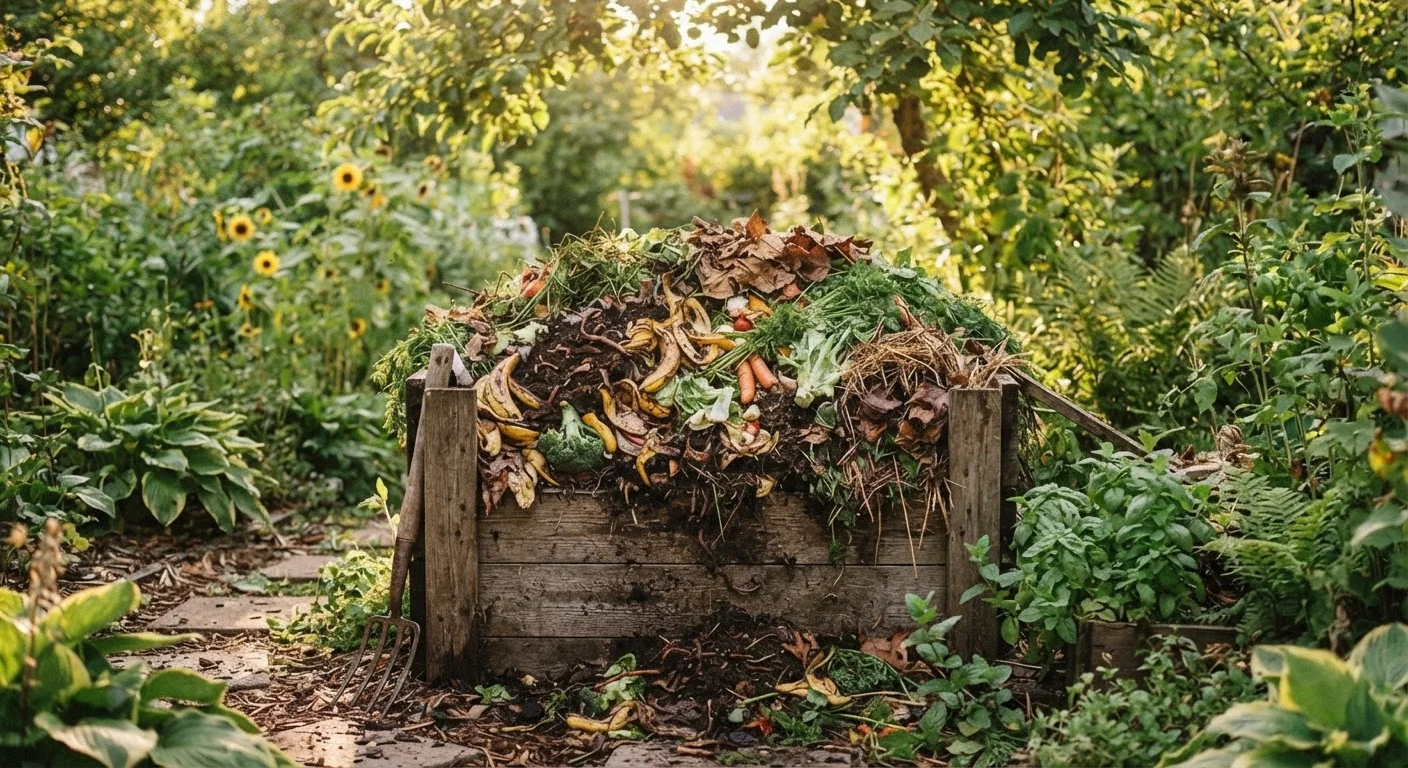
Photo: TrendingResults.net | Discover More, Trend More editorial
Key Takeaways
- A successful compost pile needs a balanced mix of carbon-rich "browns" and nitrogen-rich "greens."
- Moisture and aeration are the two most controllable factors affecting how fast materials break down.
- Most kitchen and yard waste can be composted; meat, dairy, and oily foods should be avoided.
- A finished compost pile produces dark, crumbly material that smells like forest soil - not rot.
- Compost enriches vegetable beds, raised planters, and lawn soil naturally.
Why Home Composting Is Worth the Setup
Composting converts organic waste into a soil amendment that improves drainage, feeds beneficial soil microbes, and reduces the need for synthetic fertilizers. For gardeners, it's one of the most cost-effective inputs available - and it's made largely from materials that would otherwise go to the landfill. Whether you're managing a vegetable patch or maintaining ornamental beds, finished compost builds soil structure over time in a way that bagged amendments typically can't replicate.
The process itself is straightforward: microorganisms, fungi, and invertebrates break down organic matter when given the right balance of carbon, nitrogen, moisture, and oxygen. Your job is to assemble the right inputs and maintain conditions that let natural processes do the rest. If you're also working on a raised bed project, homemade compost is one of the best ways to manage ongoing soil fertility without repeated product purchases.
Compost bin or enclosed tumbler
Contains materials, retains heat, and deters pests during the decomposition process.
Garden fork or compost aerator tool
Used to turn and aerate the pile, which speeds up decomposition significantly.
Kitchen compost collection pail
Holds food scraps on the counter or under the sink until you're ready to add them to the outdoor bin.
Moisture meter or spray bottle
Helps monitor and adjust pile moisture levels to keep decomposition active.
What to Compost - and What to Leave Out
The range of compostable materials is broader than most people expect. On the kitchen side: fruit and vegetable scraps, coffee grounds and paper filters, tea bags (remove staples), eggshells, and plain cooked grains or bread in small amounts. From the yard: fallen leaves, grass clippings, garden trimmings, shredded cardboard and newspaper, and wood ash in small quantities. These are your building blocks.
Never Compost These Materials
It's also worth noting that some yard materials need extra attention. Fresh grass clippings added in thick layers can mat together and block airflow, turning anaerobic. Either dry them first or mix them thoroughly with coarse browns when adding. Diseased plant material - anything showing signs of fungal infection or serious pest damage - is best discarded in municipal yard waste rather than composted at home, since backyard piles rarely sustain the temperatures needed to reliably neutralize pathogens. For a broader look at what gardening advice actually holds up, see common gardening myths debunked.
Setting Up and Running Your System
Follow the steps below to go from an empty bin to a functioning compost system. The process involves an initial setup and then a simple rhythm of adding, covering, and turning. Most homeowners find that once the habit is established, active maintenance takes fewer than 10 minutes a week.
What you will need
Choose your bin type and location
Pick a spot that's convenient to your kitchen but out of the way - ideally on bare soil to allow drainage and beneficial organisms to enter from below. A shaded or partially shaded location helps retain moisture in summer. Choose between a stationary open bin (DIY or purchased), an enclosed bin with a lid for pest control, or a tumbler for faster results in tighter spaces.
Gather your "browns" and "greens"
Browns (carbon-rich materials) include dried leaves, cardboard torn into small pieces, paper, straw, and wood chips. Greens (nitrogen-rich materials) include vegetable and fruit scraps, coffee grounds, grass clippings, and fresh plant trimmings. A rough ratio of 3 parts browns to 1 part greens by volume works well for most home piles. Having a stockpile of dried leaves or cardboard nearby makes it easy to balance every green addition.
Build your initial layers
Start with a 4-6 inch base layer of coarse browns - wood chips or straw work well here - to encourage airflow at the bottom. Follow with a 2-3 inch layer of greens, then another layer of browns. Lightly water each layer as you build if materials feel dry. Repeat until you have at least 12-18 inches of material, which creates enough mass to generate heat and speed decomposition.
Add kitchen scraps consistently
Bury food scraps 4-6 inches into the center of the pile rather than leaving them on top. This reduces odors and discourages pests. Each time you add greens, top them with an equal layer of browns. Coffee grounds, eggshells, vegetable peelings, and fruit cores are all excellent additions. Avoid adding large volumes of any single material at once, which can throw off the balance.
Turn and aerate the pile regularly
Use a garden fork or aerating tool to turn the pile every 1-2 weeks. Move material from the outside edges toward the center, where temperatures are highest. Turning introduces oxygen, which is essential for aerobic decomposition - the clean, efficient type that doesn't smell. More frequent turning means faster compost; less frequent turning still works but takes longer.
Monitor moisture levels
Squeeze a handful of pile material. It should feel like a wrung-out sponge - moist but not dripping. If it's too dry, add water while turning. If it's too wet and smells sour, add dry browns and turn to improve airflow. During wet seasons, a loosely fitted lid or tarp can prevent waterlogging without sealing out all airflow.
Harvest finished compost
Compost is ready when it's dark brown, crumbly, and smells like earthy forest soil - not rot or ammonia. This typically takes 2-6 months depending on materials, turning frequency, and season. Stop adding new material and let the pile finish for 2-4 weeks before harvesting. Sift out any large unfinished chunks and return them to a new pile. Use finished compost in garden beds, around trees, or blended into potting mixes.
Use Compost to Feed Your Vegetable Garden
Avoid a Soggy or Bone-Dry Pile
Once you have a steady supply of finished compost, consider how to work it into your broader yard routine. It pairs well with spring yard prep, when soil needs refreshing before the growing season begins. Compost applied in early spring gives soil biology a head start before planting.
Troubleshooting Common Compost Problems
Even a well-built pile runs into occasional problems. Here's how to read what the pile is telling you:
- Smells like ammonia: Too many greens or not enough airflow. Add browns and turn the pile to rebalance.
- Smells like rotten eggs: The pile is too wet and has gone anaerobic. Add dry browns, turn thoroughly, and allow drainage.
- Pile isn't heating up: Not enough nitrogen (greens), too dry, or pile is too small. Add fresh greens, water lightly, and turn.
- Pests are digging in: Food scraps are exposed on the surface. Always bury scraps and switch to an enclosed bin with a latching lid if wildlife is a persistent problem.
- Taking too long: Larger particle sizes, infrequent turning, or low-nitrogen materials all slow the process. Shred materials smaller, turn more often, and ensure a reasonable greens-to-browns ratio.
Composting rewards consistency over perfection. Even a pile that's been neglected for months will eventually break down - active management simply accelerates the timeline and improves the quality of the end product. If you're aiming for a lower-maintenance yard overall, composting fits naturally into the principles of low-maintenance yard design by building soil health rather than compensating for poor soil with repeated applications.
The content on this site is provided for informational purposes only and should not be considered a substitute for professional advice. While we strive to provide accurate and up-to-date information, we make no guarantees regarding its completeness or accuracy. Always consult a qualified professional for advice specific to your circumstances before making any decisions.